|
Our 1985 Eagle 10 Bus Conversion Project Page 5
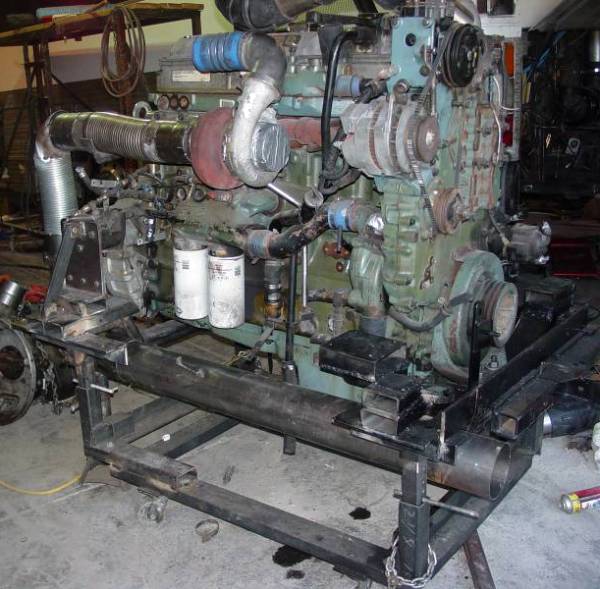
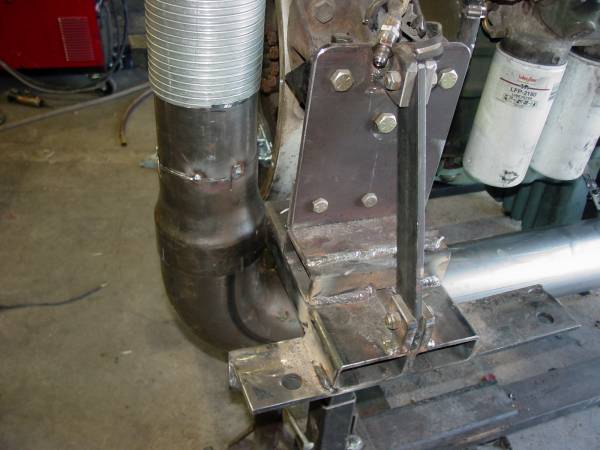
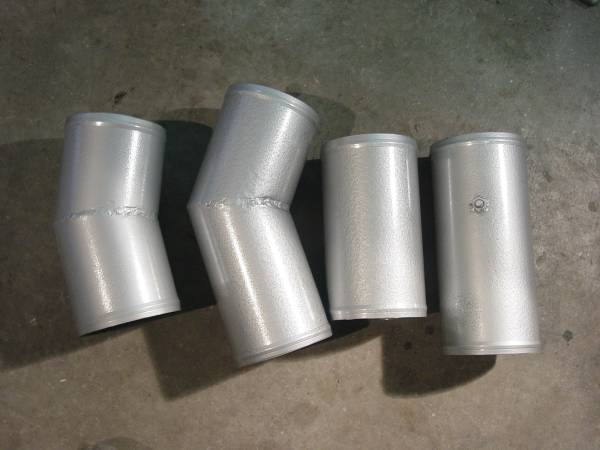
The exhaust system was another challenge. I
decided to run the exhaust back towards the front of the bus, drop it down
beside the transmission and then back towards the rear of the bus. The
second photo from the left, shows the expansion from the stock 5 inch
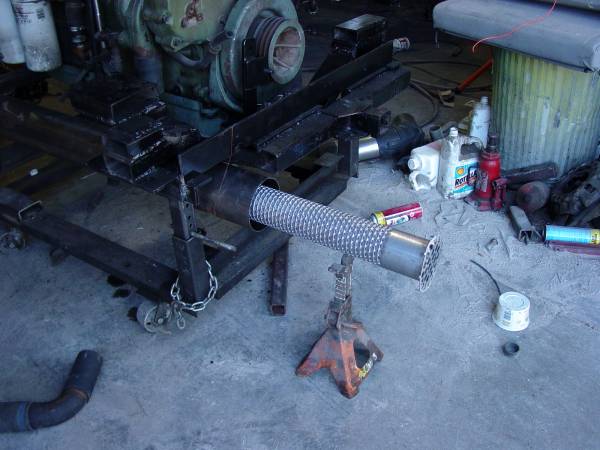
diameter to 6 inch. It was my intention to use the "stinger" insert
shown in the center photo. However, further research indicated that
would increase the back pressure too much. I have designed an
fabricated a couple of baffles that I will try for a while to see if the
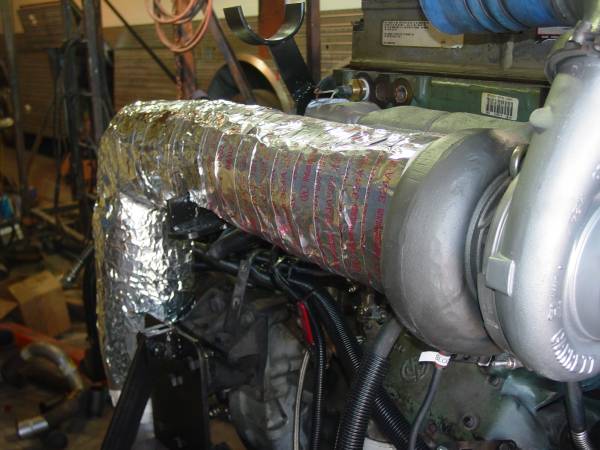
noise is bearable. As I did with the 6V92, I insulated the exhaust
system. This is important to minimize the heat radiated into the bus
and secondly to virtually eliminated the high temperature exhaust components
as ignition sources in case of a fluid leak. I used a commercial
blanket for the manifold and hot side of the turbo (not shown). For
the rest of the exhaust I used some very high temperature insulation and
high temperature foil tape.
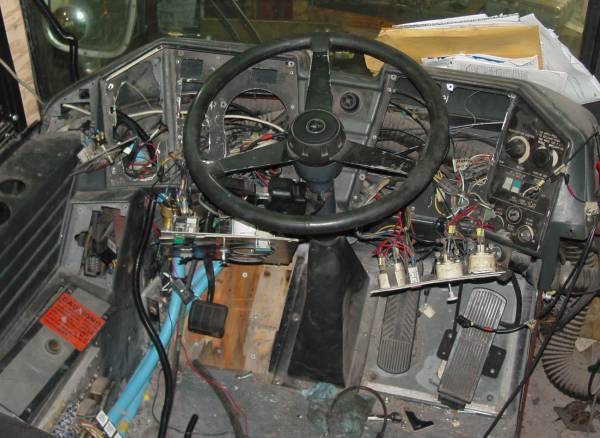
I had done quite a bit of work on the dash wiring
prior to deciding to switch to a Series 60 engine. The change to an
electronic engine
dictated that additional wiring changes in the driver area, so we get to
tear it apart again. I retained most of the original gauges and
switches, but some of the wiring I had done for the 6V92 application was
removed.
Because of the clutch, I converted the foot operated
turn signals and dimmer switch to a column mounted unit. I obtained
the unit when I stripped the engine donor truck for electric parts. I
used the truck wiring diagram and a few relays and it all works great.
These are non-canceling units, so I will need to learn to cancel the signal!
The electronic needs in the driver's area are not
huge. The two warning lights ("stop" and "check" engine) and the
engine shut down over-ride switch are mandatory. The loom has a low
coolant warning light lead, so I added that warning light as well.
This engine had both Jakes and cruise control, so the switches from the
donor truck were incorporated.
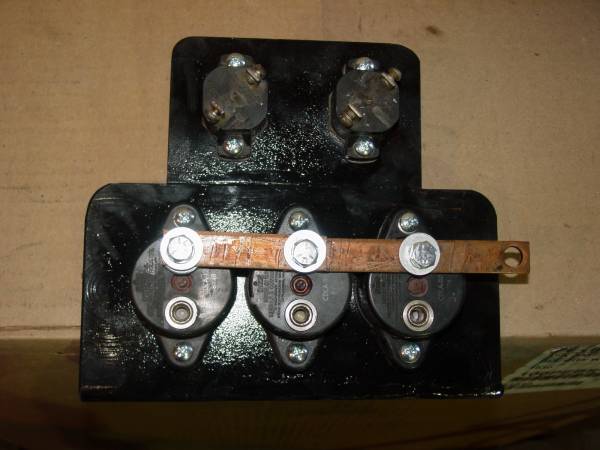
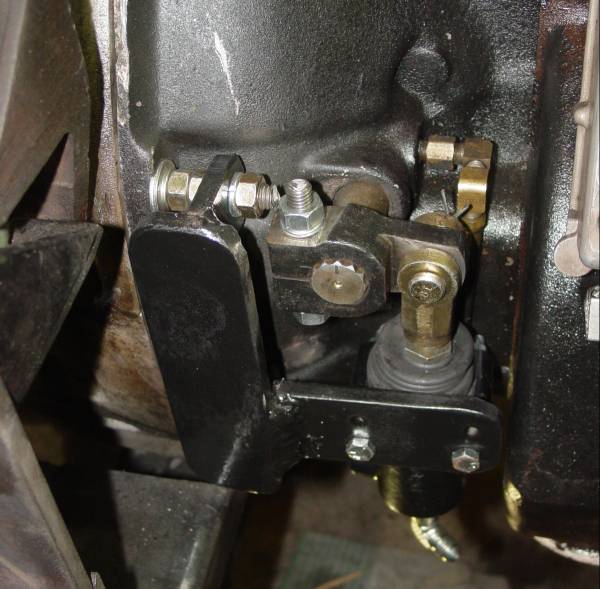
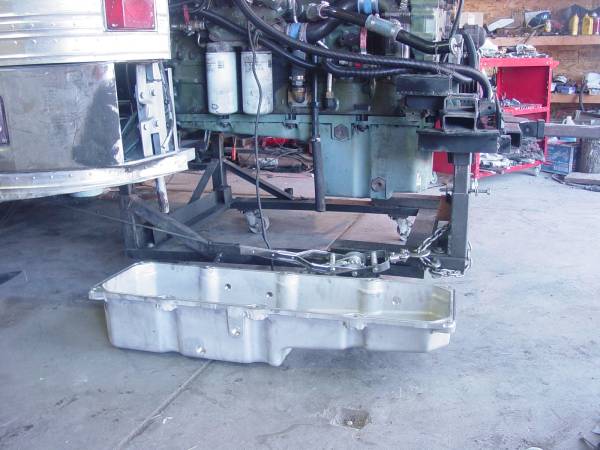
The above photos represent some misc. work. The left photo shows the new mount for the various breakers used in the high amperage circuits. These were from the bus, but all of the other wiring and components were removed and these were salvaged to serve the new wiring layout. The next photo shows the Volvo Truck slave cylinder and fabricated bracket for the clutch. I installed all new clutch components including a new Eaton "Easy Pedal" dual disk clutch. This clutch should last forever in this application because it is only used to start and stop the bus, plus the bus will see much lower loads and miles than it would see in a commercial truck application. Next came the installation of the shallow pan. There are several parts that are needed to convert the deep sump pan to shallow pan. I have all of the part numbers and other data needed to make this conversion. Getting all of these parts identified was a real challenge. Detroit Diesel folks get that "deer in the headlights look when you ask them to look up a part without an engine serial number. Luckily, several folks on the various bus boards got me started, and I lucked out and found a Prevost bus at the dealer from which I could get a that all elusive serial number. There are three shallow pans in the DD diesel parts manual (when you can help the folks find them). The prices from the least expensive to most expensive are different by $400! It really pays to do some research. Lastly, I have begun to build a very sturdy co-pilot seat. Originally we had planned for the better half to ride sitting on the couch. That was the way she liked it in our truck conversion. However, she began to enjoy the co-pilot seat in the motorhome we have been using while I work on the bus. So, we are changing the interior layout before we ever got it in place. Guess that is the time to make the changes.
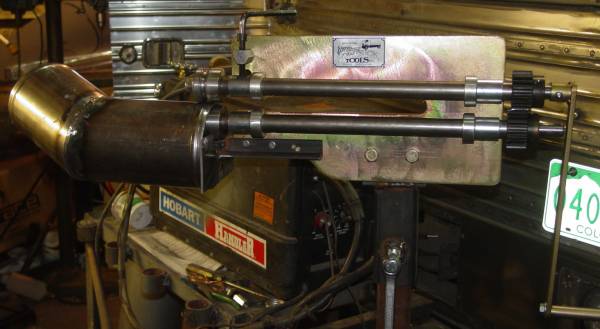
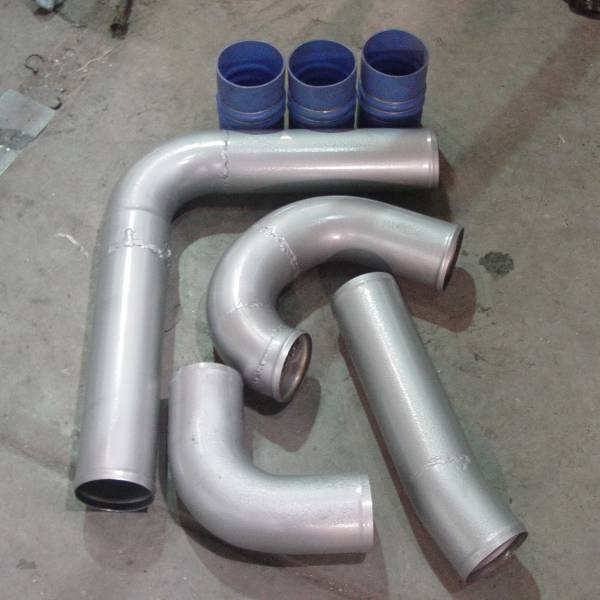
I had shown some of the various plumbing in previous photo. I thought I should come back and add some detail. First of all, any tubing that is under pressure should have a rolled bead. This keeps the hose from pulling off the tube if the clamp should loosen up. Granted, the pressures are less with diesel engines (as compared to automotive gasoline engines), but it is just good practice to have beads in the tubing, plus the bus OEM parts had beads. The photo on the left shows the intake air tubes with beads. This is probably an overkill, since they do not see pressure, but rolling the beads was so much fun, I got carried away. The second photo shows the bead roller I used. I purchase it from Lowbuck Tools (http://www.lowbucktools.com/) for about $200. That is a bit steep, but I can use it for some sheet metal projects on some of my car projects. The next photo shows the air to air tubing with the beads. The last photo shows the upper and lower coolant tubes configured with some end pieces so that they could be pressure tested. I am fairly new to TIG welding, and it showed. I had several pin-hole leaks that needed fixing.
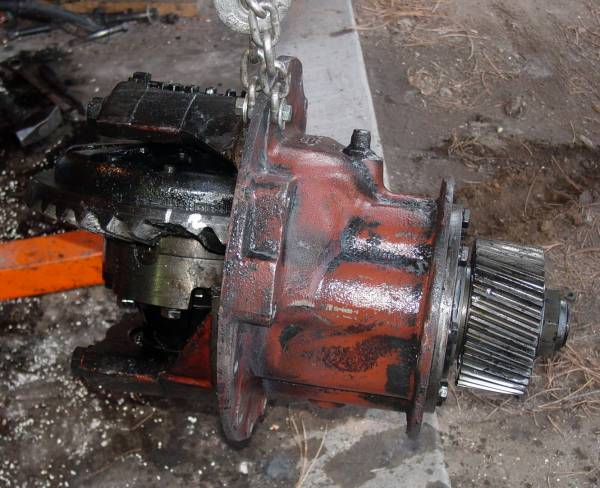
Well, if you made it this far, you know that I have been through a tremendous number of challenges. The most recent mountain I had to climb was to get the two transmission computers "talking" to the engine ECM so that all of the functions worked. As noted previously, this involved fabricating two multi-wire looms, mounting several transducers, and a lot of studying, tracing, and gnashing of teeth. Well, on 11/4/05, the bus made its first 50 yard dash with the new engine/transmission combination. This was done in the yard to begin the testing process. I wanted to stay close to home, because I had come back behind the hook twice and I really did not want to have that kind of "fun" again. In this 50 yard dash, the clutch worked great, and the transmission made the 2-3 shift just fine. After that I began making laps around our sub-division. This loop is about 2 miles of rather steep twisting narrow road. Everything went very well. The transmission controlled the engine and vice versa with no issues. The shift were made very smoothly with no input from me. In the loop I am able to get up the 7th gear, so the range change is taking place with no problems. Driving this unit is very fun so far. once you let the clutch out, the transmission goes through the gears very quickly. You leave the throttle position unchanged, yet the engine slows to break the torque and then drops the engine rpm to grab the next gear and off you go. Almost like driving an automatic transmission with 10 speeds! Well, thing were going too good. I began to hear a clicking noise that seemed to be getting louder with each loop. I pulled all of the wheels and could find nothing wrong. I finally got Pat and we made a loop. I had left the engine cover/bed off so that I could hear any issues. I put here by the engine opening and asked her to listen to the noise. When we got back, she pointed in the direction. I thought NO WAY!. I drained the rear end and found some tooth parts in the bottom. It looks to me like there was a defect in one tooth. At least I hope so. I did not "cowboy" the bus. I can only hope that the rear end will not be the really weak link in the chain. This same rear end and drop box was used by Eagle when the put a series 60 in the last few buses they produced. I built a temporary frame across the bus suspension frame work and used it along with a come-along to remover and install the drop box and rear end. Each process (removal and installation) was a full day job. I had the rear end and drop box rebuilt by the best folks in Denver. As this is written (1/29/06) I have now installed the drop box and rear end installed and the hubs fitted with new bearing races. All new bearing were the order of the day for the total axle assembly. I am now ready to install the new breaks and button up all of the conversion "loose ends". After that, I need to finish making the interior fully FUNCTIONAL. If I don't run into another major failure, we should be on the road in mid-February for a couple of shake-down trips and then for a major trip to California so that we can be vendors at the International FMCA convention. I thought I would include a photo of my rather beat-up hand that resulted from my last minute thrash to get the bus read for it's maiden voyage.
Page 5
|
|||||||||||||||||||||||||||||||||||||||||||||||||||||||||||||||||||||||||||||||||||||||